This month I'm happy to announce that Monica of Taylormadecards4u has asked me to join her design team as a permanent member. I'm super excited for this opportunity to hone my paper crafting skills.
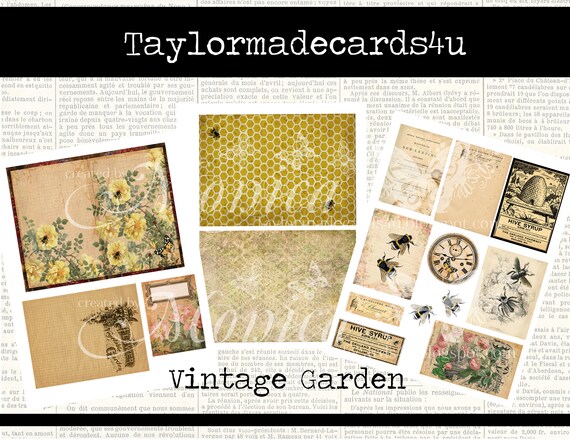
Monica's new release for March is the Vintage Garden digital set. There are some beautiful images in here with lots of ephemera choices and I'm sure that you'll find many uses for this set.
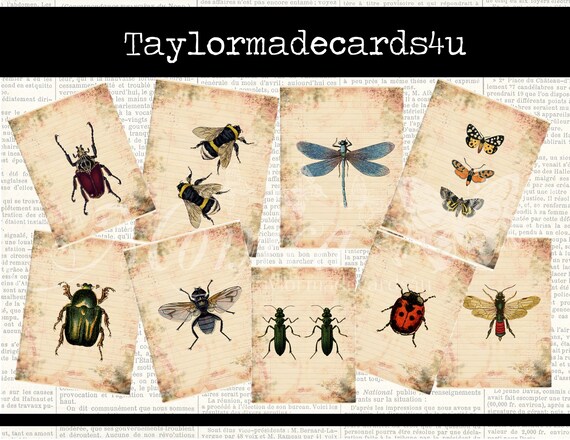
Monica also has a set of Bug ATC Cards that will work beautifully with the Vintage Garden set. You can fussy cut the bugs for use as ephemera in any one of your projects and you can also use the cards for tags or inserts in pockets in your junk journals or create ATC cards to swap with your friends. I love these bugs and how varied their uses are.
Now for those of you that don't have a color printer, Monica is now offering this release in an embellishment kit.
There are several to choose from and all a bit different, so be sure to check them out.
For this month's project I was perusing youtube videos and I came across several tutorials for altered Altoids tins. Well, wouldn't you know it, I had a mostly empty Altoids tin in my purse so I emptied the tin out and got to work.
First I painted the lid of the tin because it was red and that was not going to work with my project. I had seen someone use washi tape to cover the edge, but since washi is transparent I knew the red would still show. So, I painted the lid and it's sides with some off white paint and let that dry well.
Next I dug through my bag of washi and pulled one that I thought would coordinate well with my finished project. This particular washi has a cream background with a gold design on it. I added some glue to the edge of the tin so that the washi would adhere better.
You can see that the washi is quite a bit wider than the edge of the lid, so after the glue had dried, I cut some slits in the corners to make folding the excess down easier.
I wasn't terribly concerned how the folded over washi looked as I planned on covering it with the fun honeycomb paper that you can see my tin sitting on.
I traced the top and bottom 2 times each so that I would have a template for covering the insides and outsides of the tin. I also cut some paper strips from one of the papers to cover the sides of the lower portion of the box.
After I covered the insides and outsides, I went to town decorating my box. I was so into it that I neglected to take pictures of the process lol but you can see the finished project below.
I created some 'honeycomb' pieces from a strip of card stock. I inked the edges and sides so that they would blend better with the Vintage Garden pieces. I adhered some tea dyed cheesecloth to the lid also to give a more dimensional look and I also created a spring from a piece of wire, hot glued it to the box and then hot glued the fussy cut bee to the spring for a fun bit of movement and dimension.
You can see the dimension of the bee from the side view. I also glued some pretty organza and bead trim all the way around the side of the tin over the Vintage Garden paper just for some more dimension and to add to the shabby chic feel of the project.
Below you can see how I created a sort of shadow box on the inside of the tin. I hot glued a Tim Holtz mini clip to the left inside of the lid and I used the clip to hold some of the ephemera from the Vintage Garden kit.
On the right inside, I layered 2 Tim Holtz ephemera pieces as well as some more of my 'honeycomb' pieces and another bee on a spring and a small flower cluster.
I had a lot of fun creating this project to share with you and I'll be back a bit later in the month with another project for you......as soon as I think of something to do