Wednesday, May 15, 2019

Gone Fishin' Design Team Project for Taylormadecards4u

Welcome, welcome!! I'm back again with a fun project using Taylormadecards4u Gone Fishin' digital kit. As soon as I saw these images, I knew that I wanted to incorporate a photo of my grandson with the first fish he caught, but it took me a while to figure out just what I wanted to do. Then, when I saw an awesome frame at the Dollar Tree I knew right away how to proceed.
Let's take a look at Monica's digital kit. I know that you'll love them and they'd make a wonderful Father's Day card too.


This is the frame that inspired my project


First I cut out the images in the kit, then I roughed up the edges and inked them.


Next I started arranging the cutout images along the twine until I liked the arrangement. This project was pretty easy and I'm really pleased with the end result. I think my daughter, whose birthday is coming up next month, is really going to love it. 


Thanks so much for joining me today. I hope this project has inspired you to create your own Gone Fishin' memories. 


Friday, May 10, 2019

Coffee Lovers Spring | Summer Blog Hop & Taylormadecards4u Design Team Project

I'm back again with another Taylormadecards4u Design Team project for the Coffee Lovers Spring | Summer Blog Hop. Monica has this fun set of digital Coffee Flash cards that be used for so many things. Let's have a look at the cards.


These cards would be a fun addition to any coffee themed project, for example, tucked into a coffee cup or tied on as a gift card. For this project, I chose to make some coffee themed decor for my kitchen. 

First I cut out the cards, then roughed up the edges and inked them. I put them aside while I painted my canvas with in a light coffee color. 


After drying, I loved the color, but I thought it was lacking something so I applied a layer of matte medium and placed a couple of burlap strips over the canvas to give some more texture. The matte medium acted as a wonderful glue and I'm not worried about the burlap peeling up at all. 


After the matte medium had dried, I started layering the flash cards randomly over the canvas to see how I wanted them placed. After I had a general idea of how I wanted to layer them I started gluing them down. 


To give some more dimension, I popped some of them up with some adhesive foam squares. To finish the project off, I added a coffee cup and coffee pot that I fussy cut from a digital scrapbook kit that I have. There were a few 'empty' spaces so I tore a piece of coffee bean paper that I printed from the same scrapbook kit and inked the edges and filled in between the cards. 


I'm pleased with the way that the project turned out and I think it will look really cute hanging in my kitchen. 

Don't forget to check out the rest of the hop!!


Thanks so much for stopping by today and I hope that you're enjoying the hop. Don't forget that Taylormadecards4u is having a sale of 20% off in her shop through May 10 (https://www.taylormadecards4u.com/shop) ....I know that you'll find something that you just have to have.


Robin

Sunday, May 5, 2019

Spring | Summer Coffee Lover's Blog Hop & Taylormadecards4u Design Team Project

Today I'm making the first of two blog posts featuring Taylormade4u Designs ' coffee related digitals. I don't know about you, but I'm a huge coffee lover so it was fun to try and come up with a project that would make a fun coffee related gift for someone.

Monica is a super sponsor in the Spring | Summer Coffee Lover's Blog Hop. You can find the hop details here


This is the digital image set that I used for my project


Also, through the dates of the hop, Monica is having a 20% off sale in her shop!! Taylormadecards4u

I remembered seeing a cute paper coffee mug tutorial on youtube and I thought that these digitals would make a cute embellished tag for gifting the mug. I created the mug from some kraft cardstock and then I put some kraft colored paper shred in the bottom of the cup and put various coffees in the mug as well as some candy. This would make a great gift for any coffee lover. 

After printing and cutting the images out, I punched a small hole in the top left corner of one of the tickets, and both of the cards so that I could attach them to my gift with a bulb pin. Since my friend who will be receiving the gift is a crafter also, she will be able to attach the images to her projects or her journal with the bulb pin. 


And here is my project after I put it in a treat bag and tied a jute bow on it. I think that its so cute and would make a great gift for any coffee lover. 


Thanks for stopping by today and I hope that you'll come back in a couple of days when I'll have another project for you!!

Robin


Monday, April 15, 2019

My Mother's Garden Passport Kit and My Mother's Roses - Taylormade4u DesignTeam Project

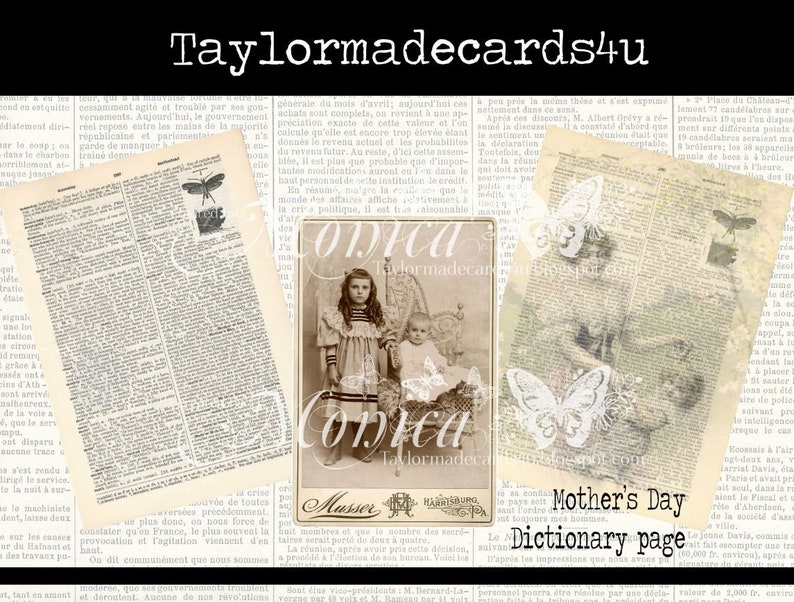
Good morning everyone and welcome back to my blog. This month I'm pleased to share with you Taylormade4u's new Passport kit, My Mother's Garden. Full of beautiful floral backgrounds and ephemera, My Mother's Garden is perfect for creating a Mother's Day card or a card for any female in your life. Monica has also made a beautiful set of flowers that can be layered together for a 3D effect and are a wonderful addition to any of your projects. I also used the Mother's Day Dictionary Page in my project. Let's take a look at them below.


For this month's project I created a zig zag card from a tutorial that I found on Youtube. I then proceeded to decorate my card with the backgrounds and ephemera found in the kit. The great thing about digital kits is that if you need more backgrounds and ephemera, you can just print them off. Unlike regular paper products, you never run out. 

Here's a look at the card that I've created.


This album is the perfect Mother's Day project or even as a gift for a close friend. I'm going to gift mine to a close friend, but I'm going to have a hard time parting with it LOL but, once again, that's the beauty of a digital kit....I can make another!!

Thanks so much for stopping by and checking out my project. I can promise you that if you purchase the My Mother's Garden Passport Kit, Mother's Roses digital or the Mother's Day Dictionary Page you won't be disappointed in your purchase. 

Hugs,
Robin


Monday, April 1, 2019

Spring Passport Design Team Project for Taylormadecards4u

Hey everyone, welcome back to my blog for my newest Design Team project for Taylormadecards4u. It's time for the next passport card kit in the Taylormadecards4u Etsy shop. I love Monica's cute digitals and I think that you will too.

Here's a look at the Spring Passport kit


and here's the project that I created with the kit.


I had a lot of fun creating a Tag Flip! Once I printed out the kit I cut out all the kit ephemera and clipped off the corners, added a hole and went to town decorating. I also cut a couple of the papers into tags and added them to the mix. Once my tags were decorated I added a binder ring and a fun tassel of different fibers. Let's have a look at the individual tags. 


I added a pocket to the tag below and tucked a couple of smaller tags into the pocket. 


I really had a lot of fun embellishing these tags. I added dimension to my embellishments with some foam tape and some shine to them with some rhinestones. I love layering up my embellishments and I think these came out so cute. 

Thank you for the beautiful kit Monica!! And thanks to everyone for joining me here today!!

Monday, March 25, 2019

Easter Tickets Design Team Project for Taylormadecards4u

Welcome back everyone! I'm here to share my design team project for Taylormadecards for you and I really love the way this project turned out.  This week I had the opportunity to work with some cute Easter Ticket Printables.

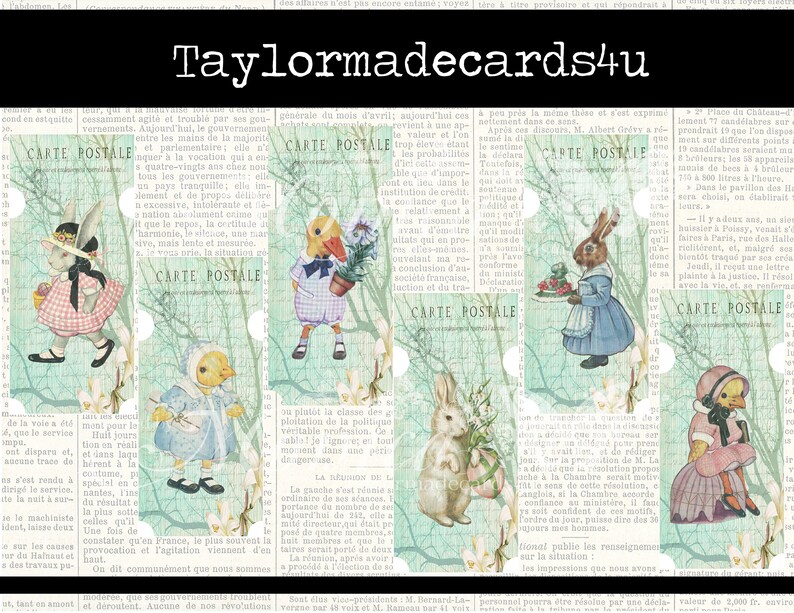
These cute little tickets can be used for bookmarks, altered paper clips, tags and little tucks in your junk journals. Here's a picture of what you'll receive in your download.


and here's a picture of the cute little items that I created from these tickets. 


I made an altered bookmark, two tags and a fun little notebook. I'm participating in a junk journal page swap that's Spring themed and I thought that I could use the items that I created as embellishments for my junk journal page. I think they turned out super cute and I'm sure that the recipient will think so too. 


Tuesday, March 5, 2019

Vintage Garden Altered Tin Design Team Project for Taylormadecards4u

This month I'm happy to announce that Monica of Taylormadecards4u has asked me to join her design team as a permanent member. I'm super excited for this opportunity to hone my paper crafting skills.

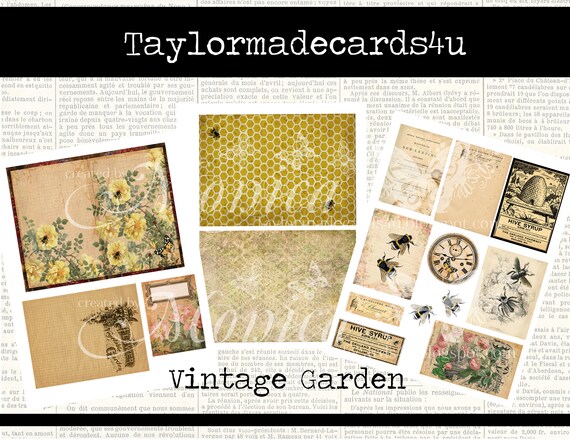
Monica's new release for March is the Vintage Garden digital set. There are some beautiful images in here with lots of ephemera choices and I'm sure that you'll find many uses for this set.


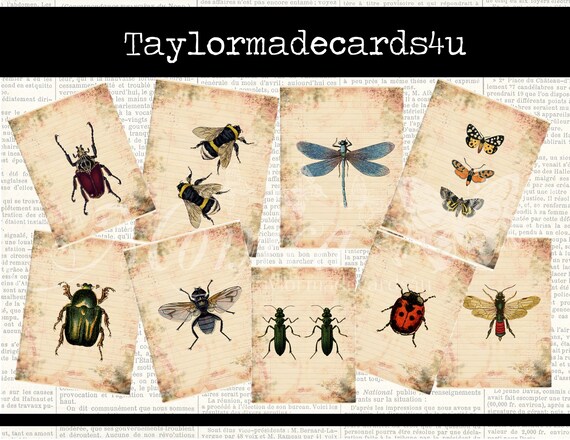
Monica also has a set of Bug ATC Cards that will work beautifully with the Vintage Garden set. You can fussy cut the bugs for use as ephemera in any one of your projects and you can also use the cards for tags or inserts in pockets in your junk journals or create ATC cards to swap with your friends. I love these bugs and how varied their uses are. 


Now for those of you that don't have a color printer, Monica is now offering this release in an embellishment kit. There are several to choose from and all a bit different, so be sure to check them out. 

For this month's project I was perusing youtube videos and I came across several tutorials for altered Altoids tins. Well, wouldn't you know it, I had a mostly empty Altoids tin in my purse so I emptied the tin out and got to work.

First I painted the lid of the tin because it was red and that was not going to work with my project. I had seen someone use washi tape to cover the edge, but since washi is transparent I knew the red would still show. So, I painted the lid and it's sides with some off white paint and let that dry well. 


Next I dug through my bag of washi and pulled one that I thought would coordinate well with my finished project. This particular washi has a cream background with a gold design on it. I added some glue to the edge of the tin so that the washi would adhere better.


You can see that the washi is quite a bit wider than the edge of the lid, so after the glue had dried, I cut some slits in the corners to make folding the excess down easier.


I wasn't terribly concerned how the folded over washi looked as I planned on covering it with the fun honeycomb paper that you can see my tin sitting on. 

I traced the top and bottom 2 times each so that I would have a template for covering the insides and outsides of the tin. I also cut some paper strips from one of the papers to cover the sides of the lower portion of the box. 

After I covered the insides and outsides, I went to town decorating my box. I was so into it that I neglected to take pictures of the process lol but you can see the finished project below.


I created some 'honeycomb' pieces from a strip of card stock. I inked the edges and sides so that they would blend better with the Vintage Garden pieces. I adhered some tea dyed cheesecloth to the lid also to give a more dimensional look and I also created a spring from a piece of wire, hot glued it to the box and then hot glued the fussy cut bee to the spring for a fun bit of movement and dimension.


You can see the dimension of the bee from the side view. I also glued some pretty organza and bead trim all the way around the side of the tin over the Vintage Garden paper just for some more dimension and to add to the shabby chic feel of the project. 

Below you can see how I created a sort of shadow box on the inside of the tin. I hot glued a Tim Holtz mini clip to the left inside of the lid and I used the clip to hold some of the ephemera from the Vintage Garden kit. 

On the right inside, I layered 2 Tim Holtz ephemera pieces as well as some more of my 'honeycomb' pieces and another bee on a spring and a small flower cluster. 


I had a lot of fun creating this project to share with you and I'll be back a bit later in the month with another project for you......as soon as I think of something to do